Posted by Stephanie Campbell on 4th Sep 2022
Sewing Room: DIY Doorstop

If you spotted my Instagram reel showing you how to create your very own fabric doorstop, here are the free templates and instructions you need. I will be uploading a more in-depth YouTube video this week. Happy making!
You will need:
- 100g cushion filling
- 1kg rice
- Fabric - I recommend weightier fabric for durability, and won't appear lumpy. I used the Whinlatter piece from the Stone & Grey fabric bundle. This project used about 3/4 of the piece, and I cut the handle rectangle from the Bramble fabric for an interesting contrast.
- Needle
- Pins
- Thread
- Fabric scissors
- Sewing machine
- Funnel (optional)
- Jug (optional)
Method:
1. Print off the templates and cut out all fabric pieces. You should have 4 side panels, 2 squares for top and bottom, and 1 handle piece.
2. Pin the side panels right sides together down one side, making sure that the print is facing the right way up. Stitch in place with a 1cm seam allowance.
3. Take the handle piece and fold the long edges twice over, half a centimetre each time. Finger press or iron. Stitch along both edges.
4. Attach the handle to the top square by placing it in the centre of the square, matching the edges of the handle to the edges of the square. The handle is a little bit longer than the square to make the handle stand up when it's sewn. Stitch in place, going over your stitches a few times for strength.
5. Pin the top square to the side panels, and stitch in place. Check your sewing by turning right side out.
6. Inside out, pin the bottom square to the side panels and stitch in place this time leaving a 10cm or so gap to allow you to turn the doorstop right side out. Go over the edges of your stitching a few times for strength.
7. Turn the doorstop right side out, poking out the corners. You can use closed scissors or a pencil to reach the corner if you find it tricky.
8. Begin filling the doorstop with the stuffing/filling and rice, alternating between the two to distribute it evenly. Make sure the doorstop is nice and full, but not over-stuffed!
9. Slipstitch the gap closed with a needle and thread.
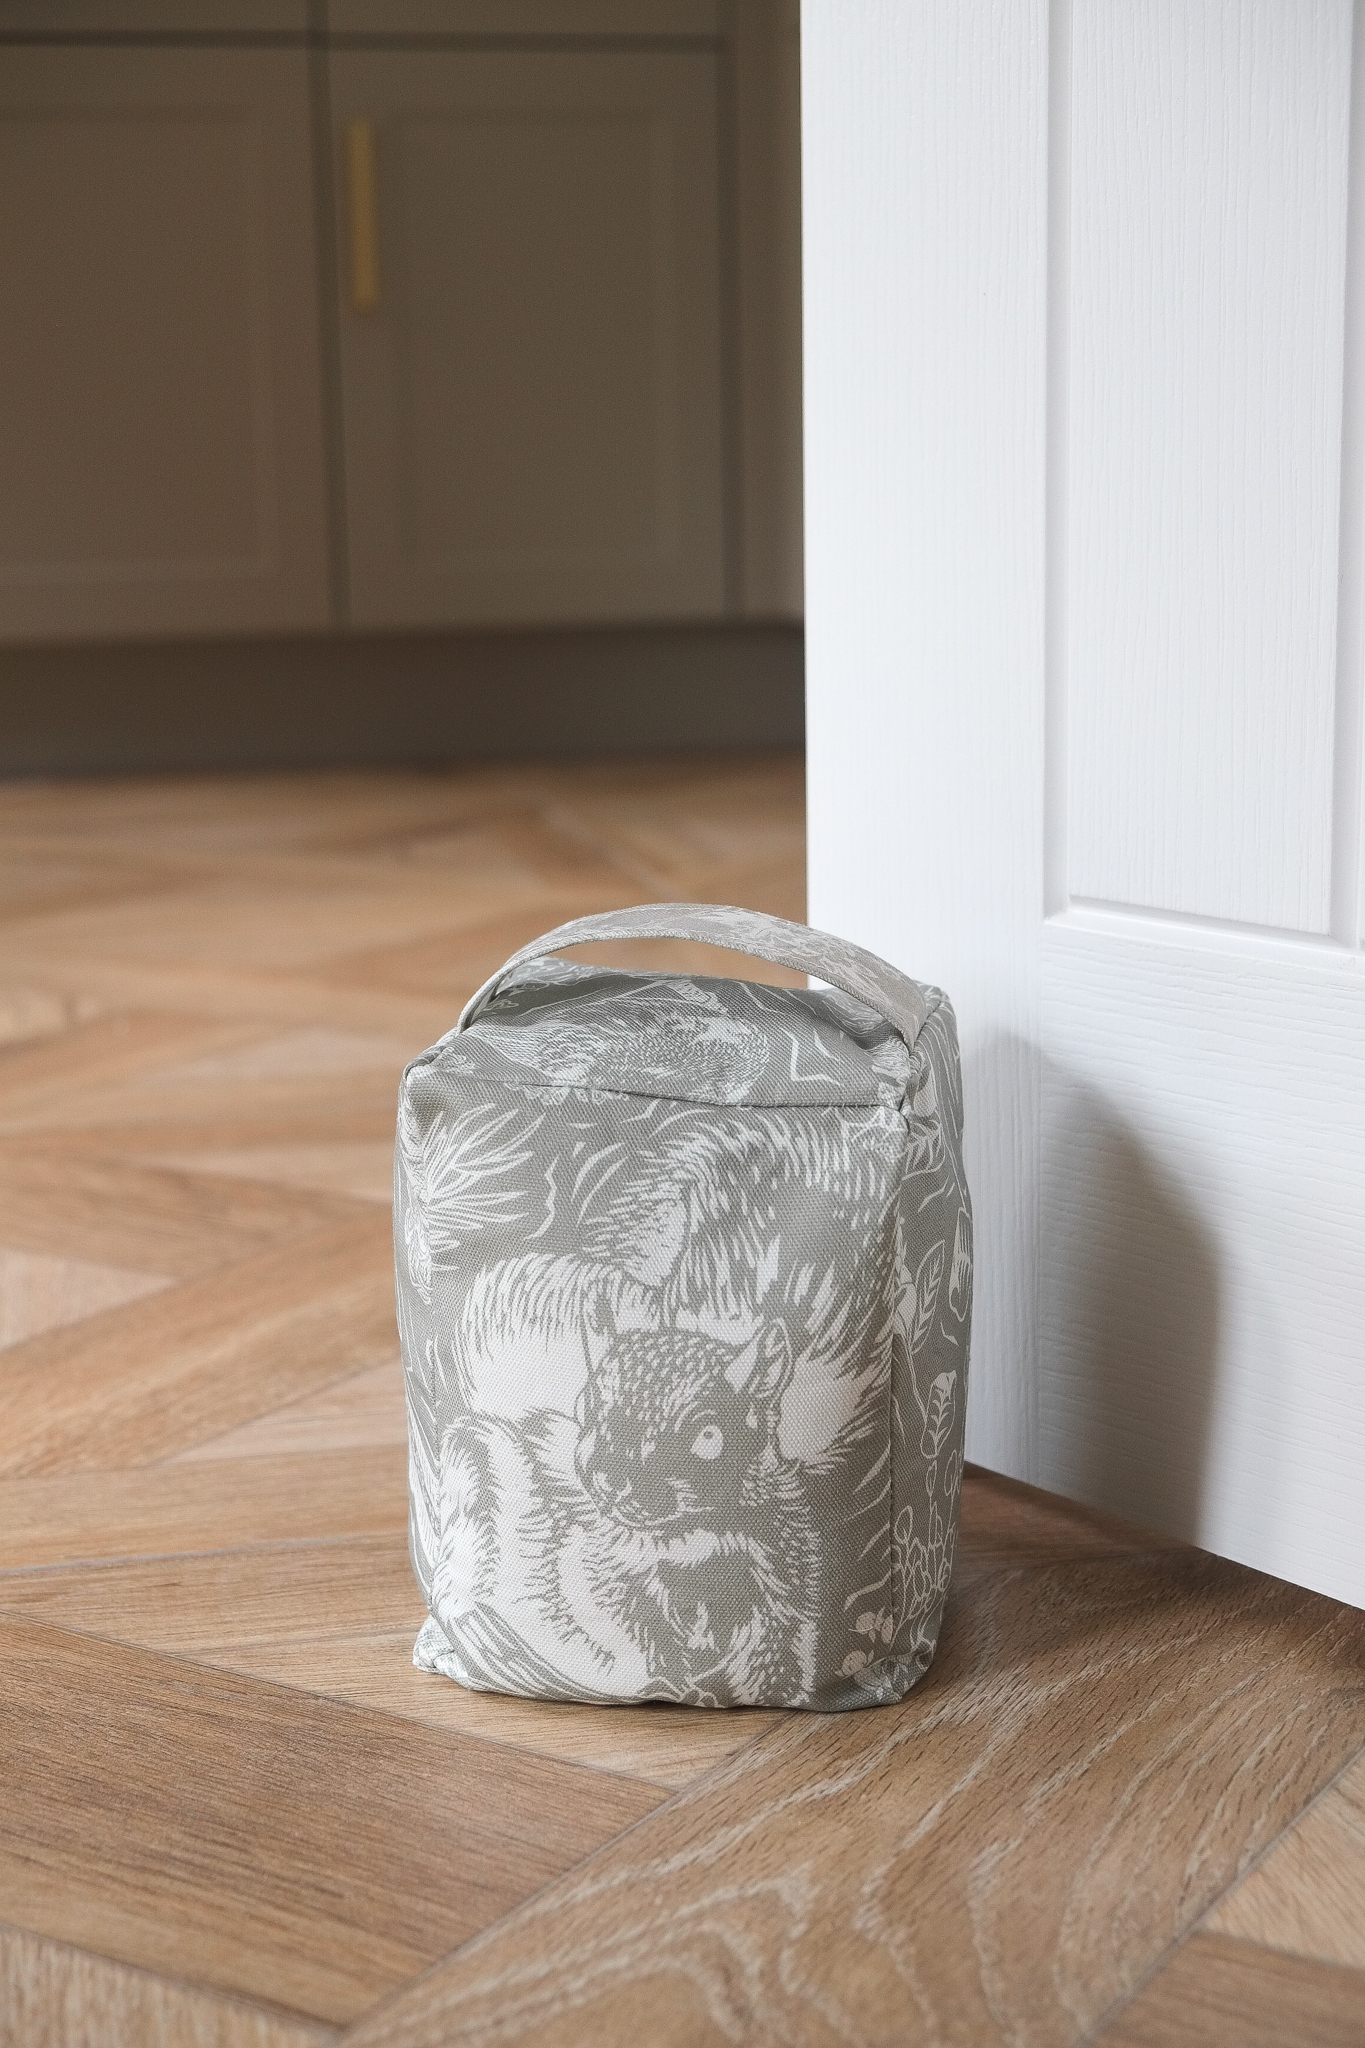
And there you have it! A cosy doorstop for your home. I use mine all the time for my kitchen and office, and they make me smile every time I look at them! I hope you take as much enjoyment out of yours too.
Best wishes,
Stephanie

